

TablePress is a plugin that you may not have heard much about. With TablePress, you can import a data table from Excel or another file type, then that table can be included on any page or post on your site using some simple code. When it’s time to edit the data, you simply edit the table in TablePress only, and then any page or post with that table is automatically updated. The secret to this is that TablePress created one central table that WordPress will display according to the shortcode you include in the page. This makes managing statistics and directories much easier on your site.
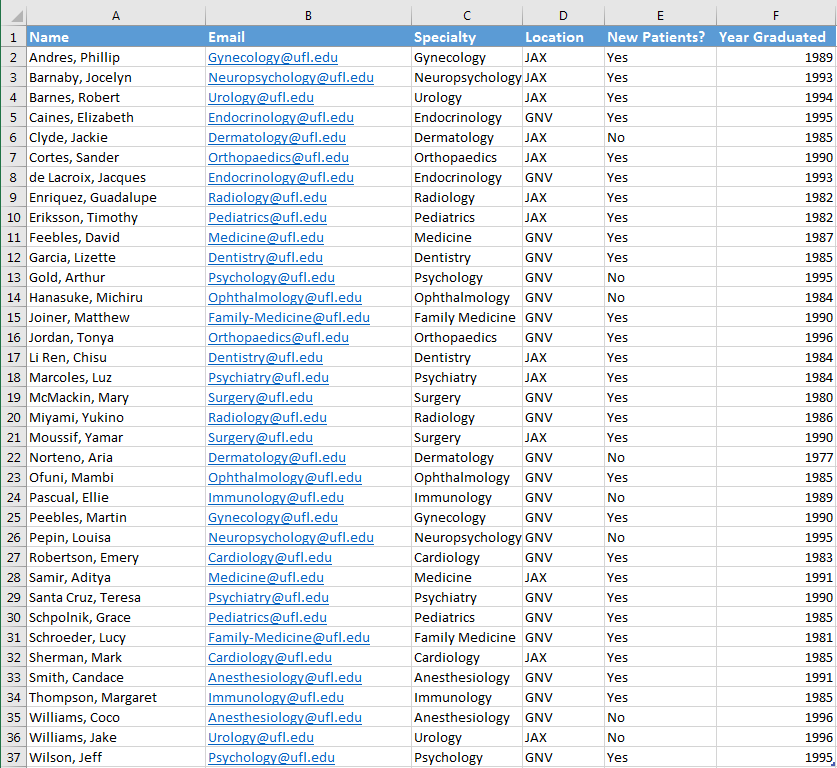
In this tutorial, you will learn how to create a table, and how to import data into a new table as seen below. If you have any questions about TablePress, or WordPress in general, please don’t hesitate to contact Web Services at webservices@ahc.ufl.edu.
.

Let’s Get Started…
To create a table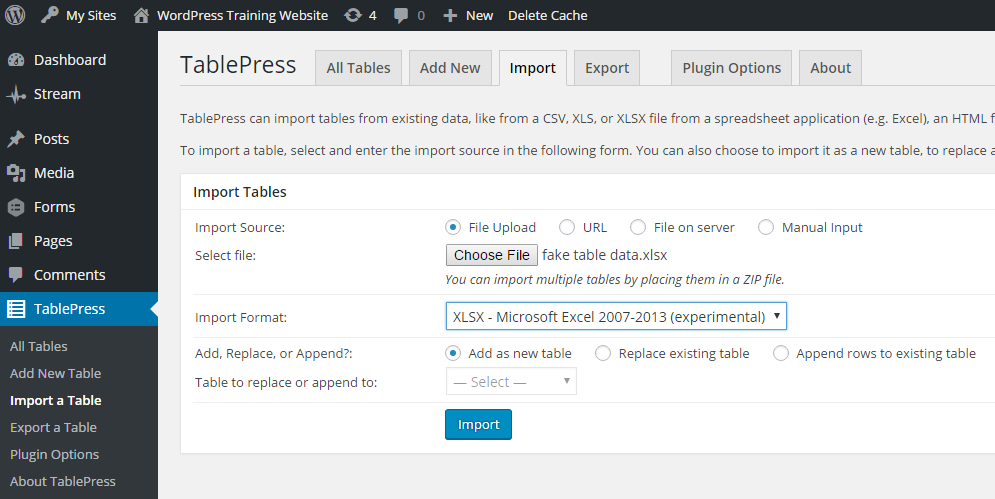
- Click on TablePress in the Dashboard Navigation Menu, and click on Add New Table.
- On the page that loads you will be given a few options for your new table:
- Add New – you can create a table directly through the plugin by typing in the number of rows and columns you want, and clicking on Add Table.
- Import – use this tab to import (upload) file of data from you computer, another file on the internet, or manually input table data into a text field. This last option is helpful for copying and pasting tables made with HTML code. Click on Import to begin uploading or creating the table.
To insert a table into a Page or Post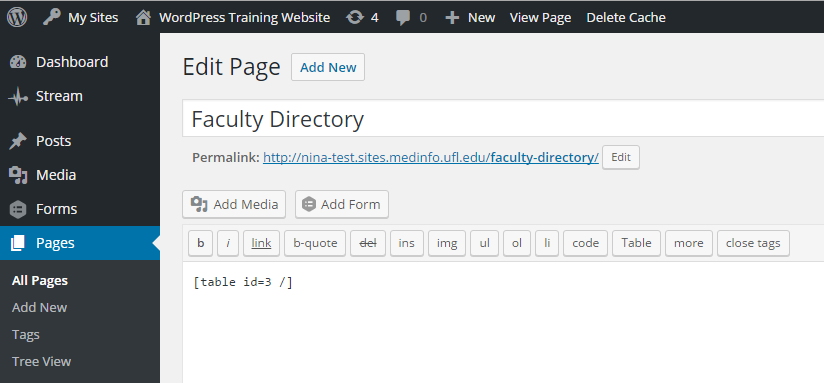
- Click on TablePress in the Dashboard Navigation Menu, and click on All Tables.
- Locate the title of the table you want to use, hover the mouse over the title and then choose Show Shortcode which appears just below the title. A pop-up window will appear with the short code available for you to copy.
- Edit the Page or Post you would like the table to be viewed on, and paste the shortcode into the spot the table should appear. For example, just after a header.
Table Manipulation and Options
After your table has been created, scroll your mouse below the table of data and you will see two boxes appear, Table Manipulation and Table Options.
Table Manipulation is where you make adjustments to the table and its data directly. By selecting certain rows or columns, you can hide or show them, insert or duplicate or delete them, combine cells, and insert images or links.
Table Options is where you can make adjustments to some of the table’s formatting such as background colors, indicate header and footer rows, alternating row colors and any additional CSS styles for the table.
Click on Save Changes to ensure any adjustments made will be visible on the website.
