


Adobe Media Encoder
The new version of Adobe Media Encoder (AME) that comes with CS5 is a great little tool for encoding video. If you are accustomed to switching frequently between After Effects and Premiere, but hate having to wait until your renders are complete to continue working, then AME can really help.
AME is now 64bit which makes it faster, more reliable, and renders with better quality. AME was designed to run in the background and compress your projects while you continue working in After Effects or Premiere.
To encode After Effects projects using AME:
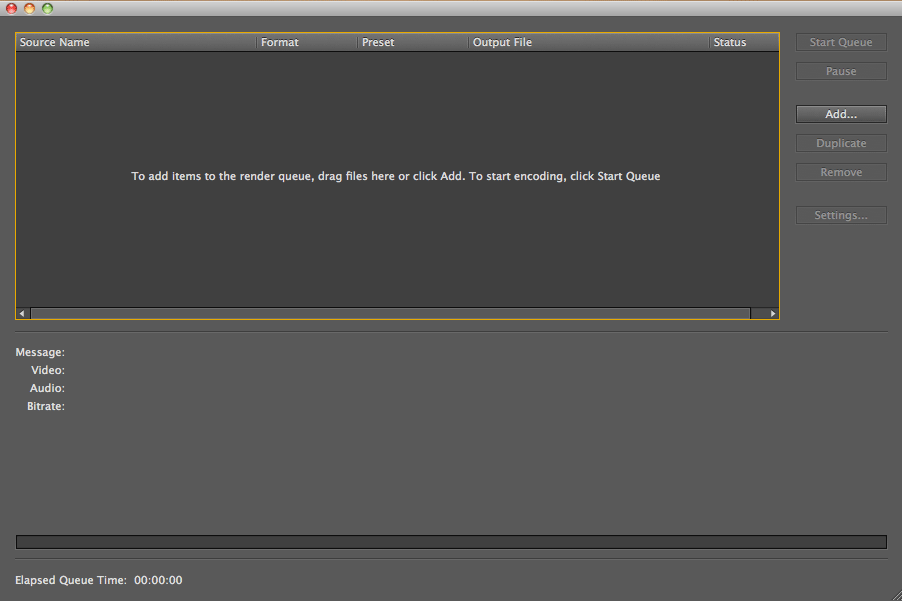
- Open AME, choose the Add button in the upper-right side and select your After Effects project (or you can simply drag the project into the AME window).
- A dialogue box will open where you can choose the After Effects comps that you would like to encode.
- Press the Settings button to set your encode settings then press Ok when done. Pressing Start Queue begins the encoding process.
This will work for Premiere projects as well. You can even load several items in the queue and it will process them all in order. If your target is the web, AME also offers 2-pass encoding, something that the After Effects renderer does not.
Encode Faster with Watch Folders
Watch Folders allows for an easy way to automatically batch encode files. Once a watch folder is defined in AME any video (or multiple videos) that are dropped into that folder will be automatically converted to your pre-chosen format (AME has to be open in the background for this to work). I noticed that If you stop a conversion for whatever reason, it will not automatically restart the queue, even when removing and then re-adding the source footage from the watch folder (CS5). In this case you will need to manually start the queue for the stopped item. The source and output footage will be organized by AME automatically. You will see two folders in the Watch Folder where your files will be saved, one called “Output” and another called “Source” – pretty self explanatory.
To create a Watch folder in AME:
- Go to the file menu and select Create Watch Folder.
- A window will open where you can select a folder or create a new one.
- AME will list the watch folder in the queue, select it and choose a preset and format to configure your encode settings.
- Drop a video or videos into the watch folder and AME will automatically start encoding it.
Streamline your workflow with Dynamic Link
Dynamic Link (Dynamic link is only available when you buy a software Bundle from Adobe) is a great way to streamline your workflow. It allows for the quick transfer of projects and footage between After Effects, Premiere, and Encore. The benefit really becomes obvious when you need to go back to the original source footage and make edits. For example, lets say you are working in Premiere using footage that was rendered out from After Effects. If any changes are needed in the original After Effects footage, normally you would need to re-render in After Effects, then re-imported into Premiere. With Adobe Dynamic link, you can skip the re-rendering process. Any changes that are made to the original footage in After Effects are automatically updated in the Premier Project, saving you from having to render twice. You can even use the exact same workflow inside After Effects to import Premiere sequences, pretty cool!
To create a Dynamic Link project:
- Go the File menu in Premiere and select Adobe Dynamic Link > Import Adobe After Effects Composition

- The comp you choose will then appear in your assets folder ready for use, it will have a small green icon in the bottom-left corner indicating it’s a Dynamic Link project.

Photo by …Tim, Flickr